nintendo switch afterglow wireless controller manual
Get the official manual for your Afterglow Wireless Controller. Learn setup, troubleshooting, and more to enhance your gaming experience.
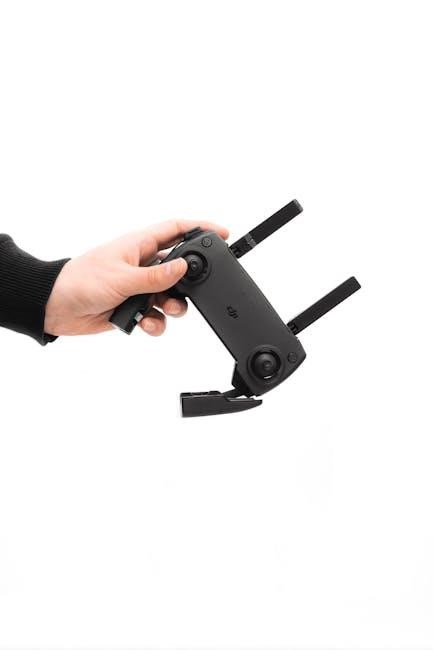
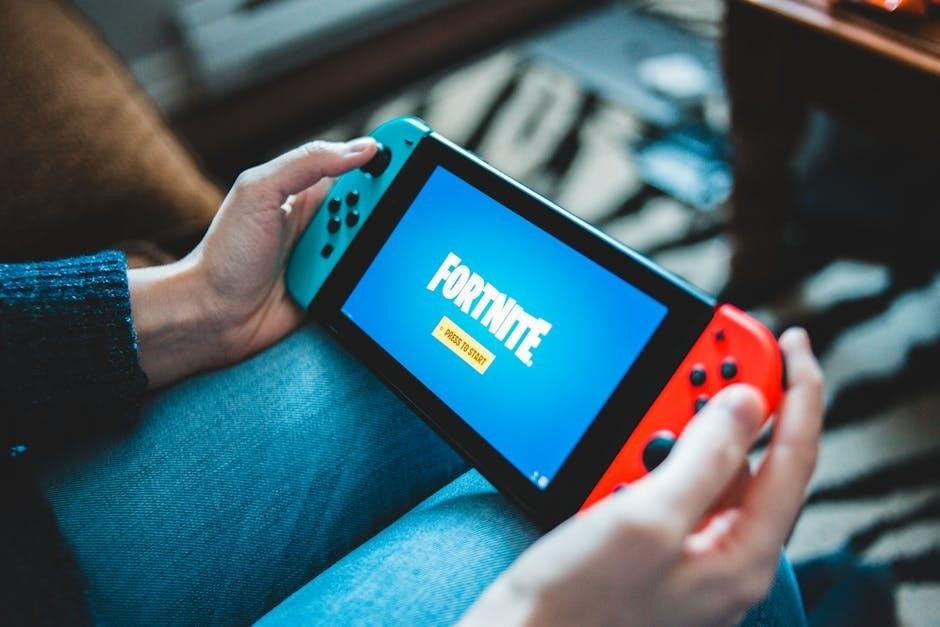
Experience enhanced gaming with the Nintendo Switch Afterglow Wireless Controller. Designed for comfort and convenience, this controller features vibrant LED lighting, programmable buttons, and motion controls for an immersive experience.
Product Overview
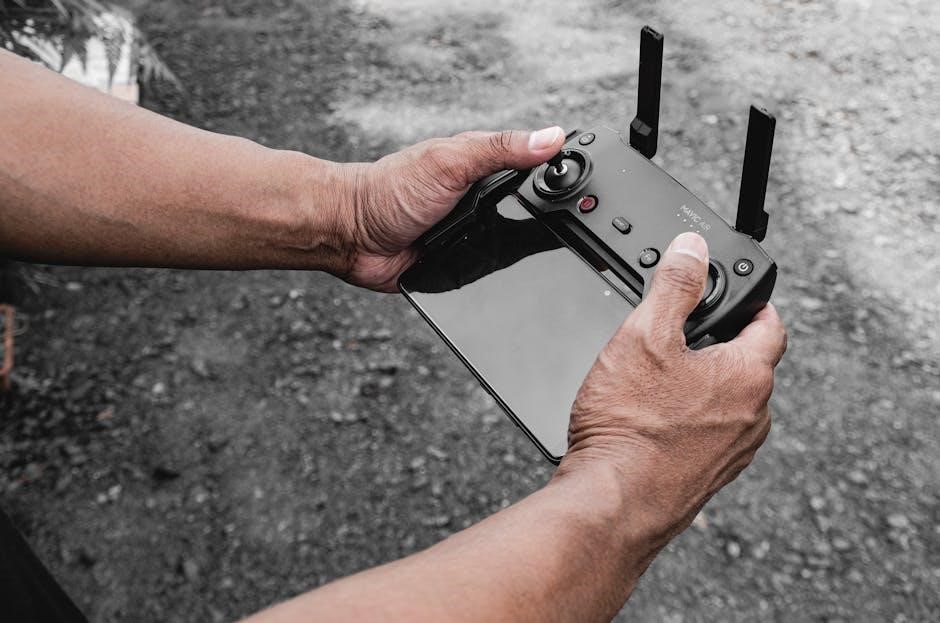
The Afterglow Wireless Controller for Nintendo Switch offers a sleek, wireless design with dual programmable back buttons, motion controls, and a built-in LED lighting system for enhanced gaming experiences.
2.1 Design and Build
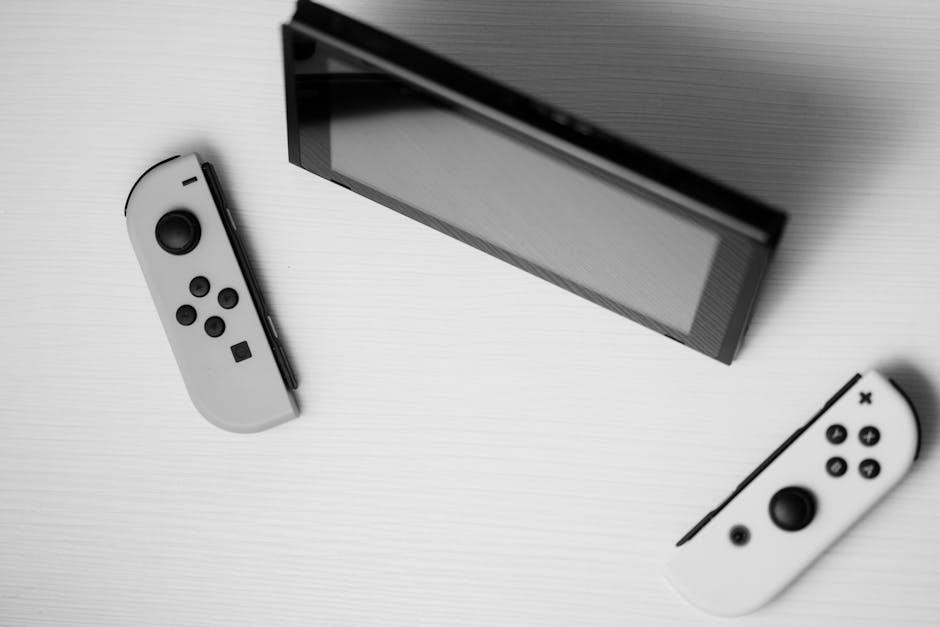
The Afterglow Wireless Controller boasts a sleek and ergonomic design, ensuring comfort during extended gaming sessions. Its textured grip provides a secure hold, while the lightweight construction reduces fatigue. The controller features a durable build with a focus on premium materials, ensuring long-lasting performance. The Prismatic LED lighting system adds a vibrant aesthetic, offering customizable color options to match your gaming style. The design includes dual programmable back buttons, allowing for personalized control layouts. Motion controls are seamlessly integrated, enhancing gameplay precision. The controller is optimized for both wireless and wired connections, with a rechargeable battery that delivers reliable performance. Its compact design makes it easy to store and transport, while the intuitive button layout maintains familiarity for Nintendo Switch users. Overall, the Afterglow Wireless Controller balances style, functionality, and comfort, making it a versatile accessory for any gaming setup.
2.2 LED Lighting System
The Afterglow Wireless Controller features a stunning LED lighting system that enhances your gaming experience with vibrant colors. The Prismatic LED technology allows for a wide range of customizable lighting effects, creating a unique aesthetic appeal. Users can choose from multiple preset color schemes or create their own personalized lightshows. The LED lights are dimmable, offering flexibility to adjust brightness levels based on your environment. This feature not only adds visual flair but also provides a convenient way to personalize your controller. The lighting system is energy-efficient, ensuring that it doesn’t significantly impact battery life. With the ability to cycle through colors or set a static hue, the LED lighting system makes the Afterglow Wireless Controller stand out as both a functional and stylish accessory for your Nintendo Switch. This feature is a key highlight of the controller’s design, offering a blend of form and function.
Key Features
The Afterglow Wireless Controller offers wireless connectivity, extended battery life, programmable buttons, and motion controls. These features enhance gameplay and provide a seamless, customizable experience for Nintendo Switch users.
3.1 Wireless Connectivity
The Afterglow Wireless Controller offers seamless wireless connectivity, allowing gamers to enjoy a cable-free experience. It supports Bluetooth technology, providing a stable and reliable connection to the Nintendo Switch. The controller pairs easily by pressing the Home button and B button simultaneously, ensuring quick setup. With a wireless range of up to 30 feet, players can enjoy gaming from the comfort of their preferred spot. The controller also automatically pairs with the Switch when connected via USB, simplifying the process. Wireless mode is ideal for convenience, while a wired connection option is available for uninterrupted gameplay. The LED lights indicate connection status, ensuring users are always aware of their controller’s state. Battery life is optimized for extended wireless use, offering hours of play on a single charge. This feature-rich design makes the Afterglow Wireless Controller a versatile choice for Switch gamers seeking both flexibility and performance.
3.2 Battery Life
The Afterglow Wireless Controller is designed with a rechargeable battery, offering an impressive duration of up to 24 hours on a single charge. This extended battery life ensures uninterrupted gaming sessions, allowing players to enjoy their favorite games without frequent interruptions. The controller comes with a USB-C cable for convenient charging, and it can be used while charging if needed. When not in use, the controller automatically enters sleep mode to conserve power, extending its overall battery lifespan. The LED lighting system, though vibrant, is energy-efficient and does not significantly drain the battery. Users can monitor the battery level through the Nintendo Switch’s interface, receiving notifications when it’s time to recharge. This combination of efficiency and longevity makes the Afterglow Wireless Controller a reliable choice for both casual and hardcore gamers seeking a seamless wireless experience.
3.3 Programmable Buttons
The Afterglow Wireless Controller features dual programmable back buttons, allowing users to customize their gaming experience. These buttons can be assigned to perform complex actions or replicate any button inputs, enhancing gameplay efficiency. Gamers can create custom profiles to suit different games or playstyles, ensuring optimal control in every situation. The programmable buttons are easily accessible and provide tactile feedback, making them ideal for competitive gaming. Additionally, the controller’s software allows users to save multiple profiles, switching between them seamlessly. This feature is particularly beneficial for players who enjoy a variety of genres, as it adapts to their needs. The programmable buttons also cater to accessibility, enabling users to personalize controls for comfort and convenience. With this level of customization, the Afterglow Wireless Controller offers a tailored gaming experience that elevates performance and satisfaction.
3.4 Motion Controls
The Afterglow Wireless Controller incorporates advanced motion controls, enabling precise and intuitive gameplay. These controls allow for immersive experiences in compatible games, such as sports, action, and adventure titles. The built-in accelerometer and gyroscope provide accurate movement tracking, responding to even slight tilts or gestures. This feature is particularly useful for games that require aiming, steering, or puzzle-solving. Gamers can enjoy fluid control, enhancing their overall gaming performance. The motion controls are easy to activate and can be calibrated for optimal responsiveness. Additionally, the controller’s ergonomic design ensures comfort during extended gaming sessions. Whether you’re navigating virtual worlds or engaging in competitive multiplayer, the motion controls of the Afterglow Wireless Controller deliver a dynamic and engaging experience, making it a versatile accessory for Nintendo Switch users.
Setup and Pairing
Pairing the Afterglow Wireless Controller is straightforward. Press and hold the Home button and B button simultaneously to enter pairing mode. The controller will automatically connect to your Nintendo Switch.
4.1 Wireless Connection Steps
To connect your Afterglow Wireless Controller wirelessly to the Nintendo Switch, follow these steps:
- Ensure your Nintendo Switch is turned on and in the home screen.
- Press and hold the Home button and the B button on the controller simultaneously for 3-5 seconds to enter pairing mode. The LED indicator will flash blue.
- On the Nintendo Switch, navigate to the Controllers menu and select Change Grip/Order.
- Select the option to pair a new controller. The Switch will search for nearby devices.
- Once the controller appears in the list, select it to complete the pairing process. The LED will stop flashing and remain solid blue when connected.
The controller is now wirelessly connected and ready to use. If issues arise, ensure the controller is fully charged and restart the pairing process if necessary.
4.2 Wired Connection Steps
To connect your Afterglow Wireless Controller to the Nintendo Switch using a wired connection, follow these steps:
- Locate the USB cable provided with the controller and plug one end into the USB port on the Nintendo Switch dock.
- Connect the other end of the USB cable to the controller’s USB-C port.
- The controller will automatically pair with the Switch, and the LED indicator will light up to confirm the connection.
- Once connected, you can use the controller to navigate the Switch menu and play games.
- If the controller does not automatically pair, ensure it is fully charged and restart the connection process.
Wired mode ensures a stable connection with no latency, making it ideal for competitive gaming. The controller will charge during use, ensuring extended play sessions.
4.3 Switch Menu Pairing
To pair your Afterglow Wireless Controller with the Nintendo Switch using the Switch Menu, follow these steps:
- Turn on your Nintendo Switch console and navigate to the Home Screen.
- Open the System Settings by selecting the gear icon.
- Scroll down and select Controllers and Sensors.
- Choose Change Grip/Order to access the controller pairing menu.
- Press and hold the Home button on the Afterglow controller until the LED indicator begins to flash.
- Once the controller appears in the available devices list, select it to complete the pairing process.
- The LED indicator will stop flashing and remain lit, confirming a successful connection.
This method ensures a secure and stable wireless connection, allowing you to enjoy your gaming experience without any cables. If pairing issues occur, restart the controller and repeat the process.
Customization Options
Personalize your Afterglow Wireless Controller with vibrant LED lighting, programmable buttons, and motion controls. Adjust brightness and customize button mappings to suit your gaming preferences for a tailored experience.
5.1 LED Lighting Customization
Elevate your gaming experience with the Afterglow Wireless Controller’s customizable LED lighting. Choose from a variety of colors and create dynamic light shows that match your mood or game theme. The controller features prismatic LED lighting, allowing you to switch between vibrant hues and adjust brightness levels for a personalized look. To change colors, simply hold the middle button and press the back triggers. This feature not only enhances the aesthetic appeal but also adds an extra layer of immersion to your gaming sessions. With the ability to dim the lights or select from multiple color options, you can tailor the visual experience to suit your preferences. Whether you’re playing in a dimly lit room or showcasing your controller’s style, the LED customization ensures a unique and engaging setup.
5.2 Brightness Adjustment
Adjust the brightness of your Afterglow Wireless Controller’s LED lighting to suit your gaming environment. The controller allows you to dim or brighten the lights for optimal visibility. To adjust the brightness, press and hold the brightness button located on the top of the controller. Use the triggers to increase or decrease the light intensity. This feature ensures that the LED lights are not too harsh in low-light settings or too dim in bright environments. You can also turn off the lights entirely if desired. The brightness adjustment enhances the overall gaming experience by providing a customizable visual setup. Whether you’re playing in a dark room or a well-lit area, you can fine-tune the brightness to your preference. This flexibility makes the controller versatile for various gaming scenarios while maintaining its aesthetic appeal.
5.3 Programmable Buttons Setup
Customize your gaming experience with the Afterglow Wireless Controller’s programmable buttons. This feature allows you to assign specific functions to the back buttons, ensuring quick access to your most-used actions. To set up the programmable buttons, navigate to the controller’s menu and select the “Programmable Buttons” option. Choose the function you wish to assign and press the corresponding button to save your preference. You can also adjust the sensitivity of the triggers for precise control. The programmable buttons enhance gameplay by streamlining your commands, making it easier to focus on the action. Additionally, the controller’s motion controls can be calibrated for accurate movement detection. This level of customization ensures that your gaming setup is tailored to your preferences, providing a more intuitive and enjoyable experience. Experiment with different configurations to find the perfect balance for your gaming style.
Maintenance and Care
Keep your Afterglow Wireless Controller in prime condition by cleaning it with a soft cloth and avoiding harsh chemicals. Store it in a dry place to prevent damage and ensure longevity.
6.1 Cleaning the Controller
To maintain your Afterglow Wireless Controller, gently wipe it with a soft, dry cloth. For stubborn dirt, dampen the cloth slightly but avoid liquids contacting electrical components. Clean buttons and joysticks with a cotton swab, ensuring no moisture seeps inside. Regularly removing dust and grime prevents malfunctions and maintains responsiveness. Avoid harsh chemicals or abrasive materials that could damage the finish or harm the LED lighting system. For the LED strips, use a dry cloth to remove any smudges or fingerprints. Store the controller in a cool, dry place to prevent moisture buildup. Cleaning regularly extends the controller’s lifespan and ensures optimal performance. Always unplug or turn off the controller before cleaning to avoid accidental power issues. By following these steps, you can keep your Afterglow controller looking and functioning like new.
6.2 Storage Tips
Proper storage of your Afterglow Wireless Controller ensures longevity and performance. When not in use, store the controller in a cool, dry place, away from direct sunlight and moisture. Avoid extreme temperatures, as they can damage the battery and electrical components. Use the provided USB-C cable to keep the controller charged but avoid overcharging, which can reduce battery life. For extended storage, fully charge the controller and turn it off to prevent battery drain. Store it in its original packaging or a protective case to shield it from dust and accidental damage. If you plan to store the controller for an extended period, consider disconnecting it from your Nintendo Switch to conserve battery life. Regularly cleaning the controller before storage prevents dust buildup and ensures it remains responsive when you resume use; By following these storage tips, you can maintain your controller’s functionality and appearance.

Troubleshooting Common Issues
Troubleshoot common issues with your Afterglow Wireless Controller by checking connections, rebooting, and ensuring firmware updates. Resetting the controller or re-pairing can resolve connectivity and functionality problems effectively.
7.1 Connection Problems
Experiencing connection issues with your Afterglow Wireless Controller? Ensure the controller is fully charged and paired correctly. Reset the controller by holding the middle button and back triggers for 10 seconds. Restart your Nintendo Switch and re-pair the controller through the “Change Grip/Order” menu. If using wireless, check for interference from other devices. For wired connections, verify the USB cable is securely plugged into the dock. If problems persist, perform a factory reset by pressing and holding the Home button and B button simultaneously for 15 seconds. This will restore default settings. Visit the official PDP support website for additional troubleshooting guides or firmware updates. Regularly updating firmware can resolve connectivity issues and improve performance. Ensure your Nintendo Switch is also updated to the latest software version for optimal compatibility.